

How To Draw With Brush Pens
I've always strived to develop my personal manner, an creative vox that speaks via tools and media. When I thought I had found it, I got completely lost at the same time. My vector graphics looked crisp and professional person, but my manus cartoon was stiff. I bought countless markers, gel pens and paints to experiment with.
So and so I decided it was time to go back to nuts and review my approach and started to describe with nothing simply a pen. Only sketches with no intention to end upward as finished artworks. I also tried to do the aforementioned digitally: one unmarried layer and default brush. Surprisingly, it worked! There was a common theme between new works and drawings that looked completed despite being speedily drawn.
Only marvel drives me to experiment. I don't use water with castor pens, I've never opened a blender marker, and I don't apply an eraser to pb pencil. But I'm happy with that – my artistic voice comes through my personal mode. Here I go over some of my superlative tips on creating artwork with castor pens.
(Encounter our all-time pens post if you want to stock upwardly on supplies. Or become more advice with our how to describe tutorials.)
01. Employ vertical hatching
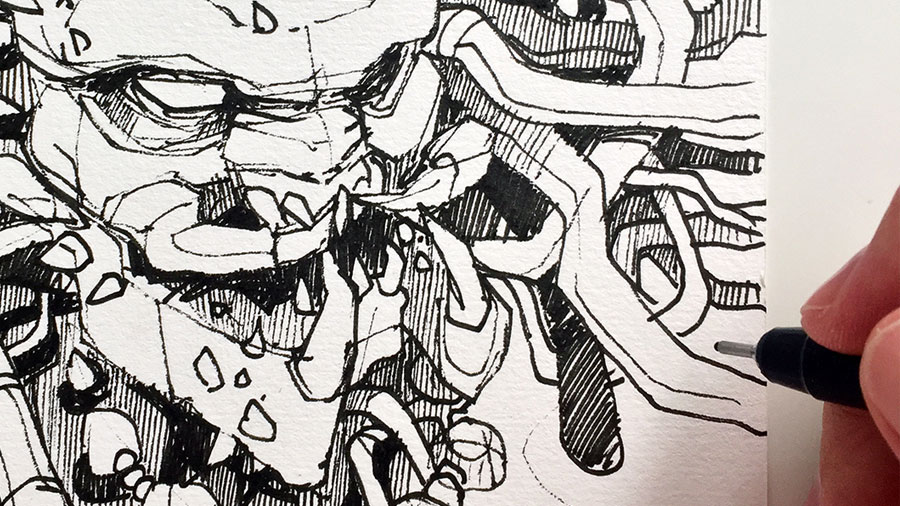
I draw with a black fineliner and add plenty of detail by applying lots of vertical hatching. I employ two 0.8mm fineliners. The offset 1 is new and gives me a thick line. The 2d ane is one-time: perfect for dry, gritty and less-then-perfect lines.
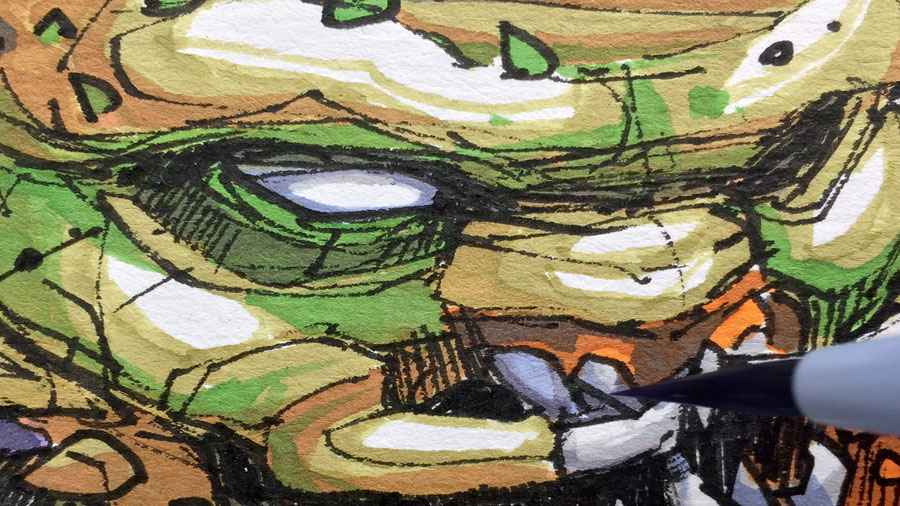
02. Pigment from light to dark
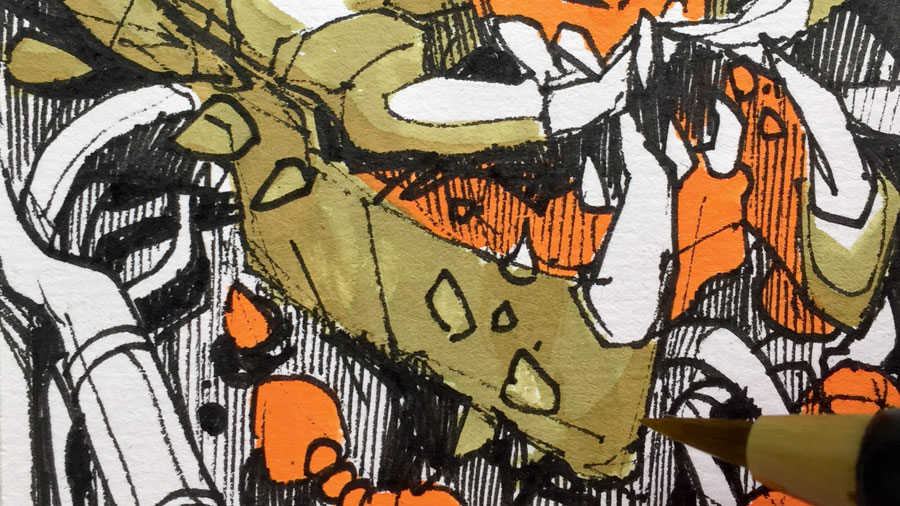
Since I employ watercolour castor pens, I follow the rules in this slice, going from low-cal to dark and leaving blank spots to create the light. I use two or three similar hues and layer them over each other with thin brush strokes: this helps to define my basic shadow spots.
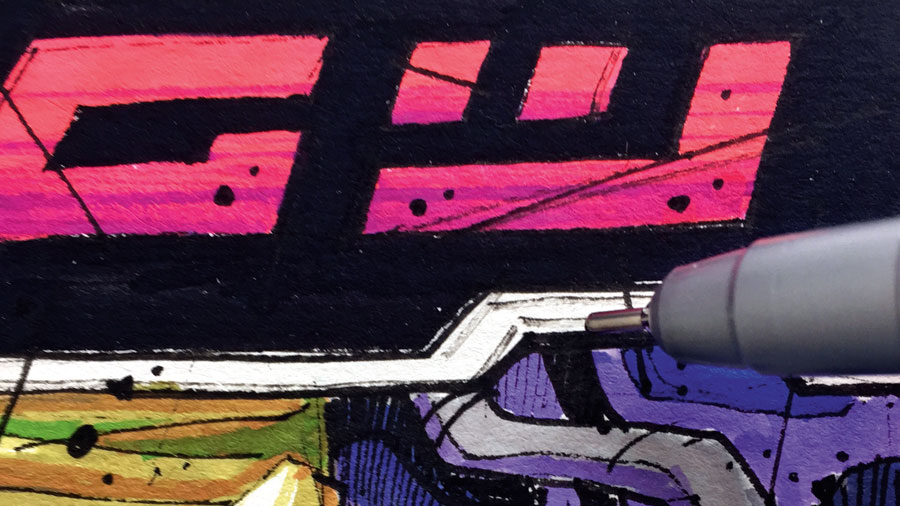
03. Enhance the shadows
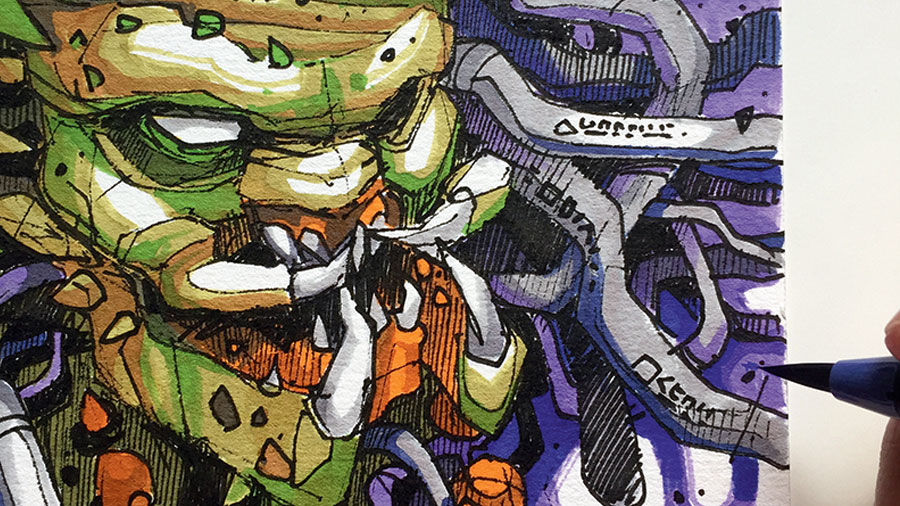
In this piece I use nighttime blue to create shadows on secondary elements. I paint with spots and long castor strokes, repeating the shape of certain elements. These brush pen strokes look darker when wet, simply like watercolour. Check your work when the paint dries.
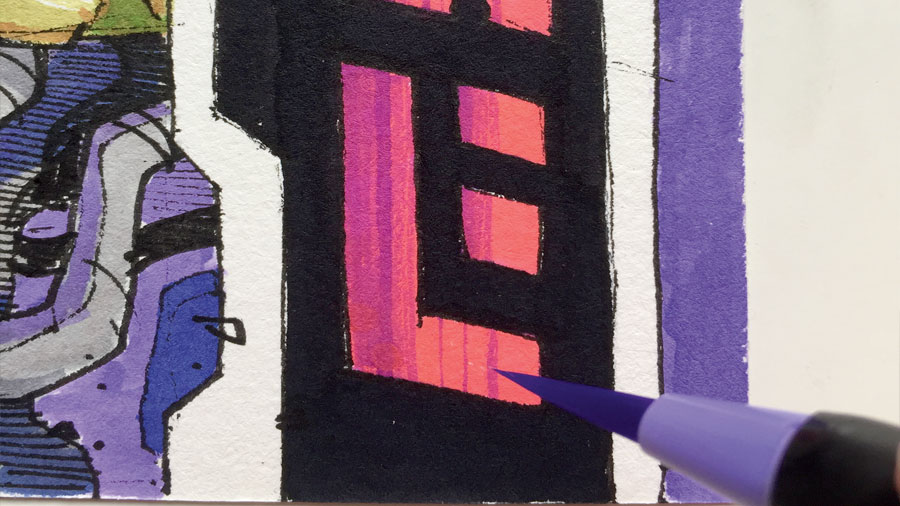
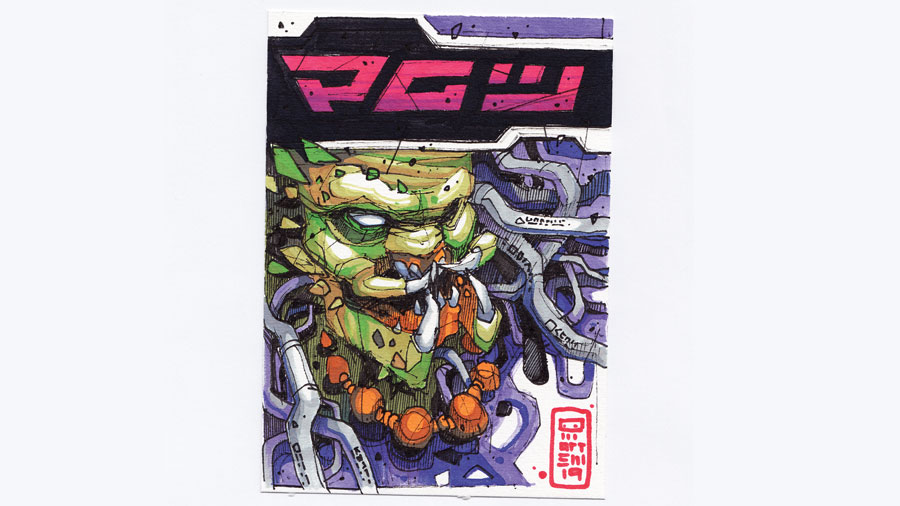
04. Apply stylised text
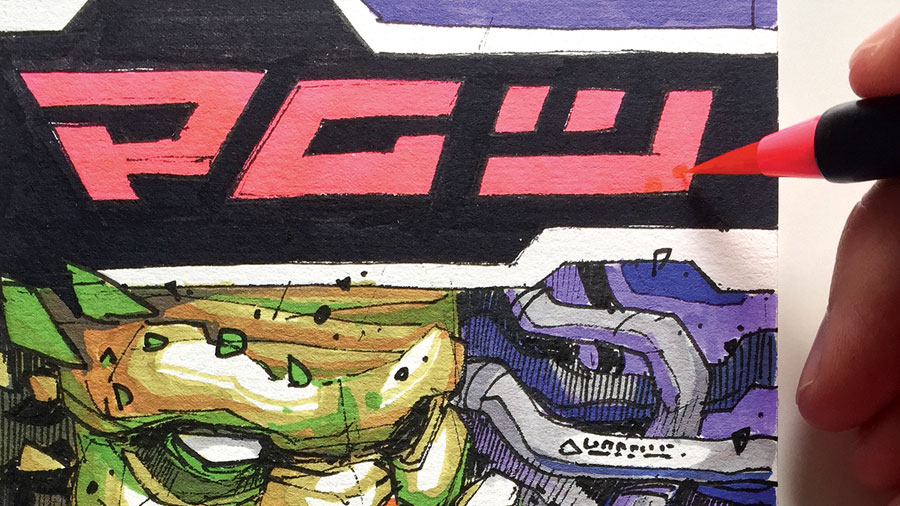
This piece has a heavily stylised text element. To create this, I paint the header area with long, assuming strokes of a contrast colour combination. I add violet to the corner to support the general composition. Now this picture looks organic, but the text is as well crisp.
I add a slope to the text for a more than organic experience, using bold and thin strokes instead of smooth blending. You may have noticed that I'thousand agape to employ water!
05. Don't aim for perfection
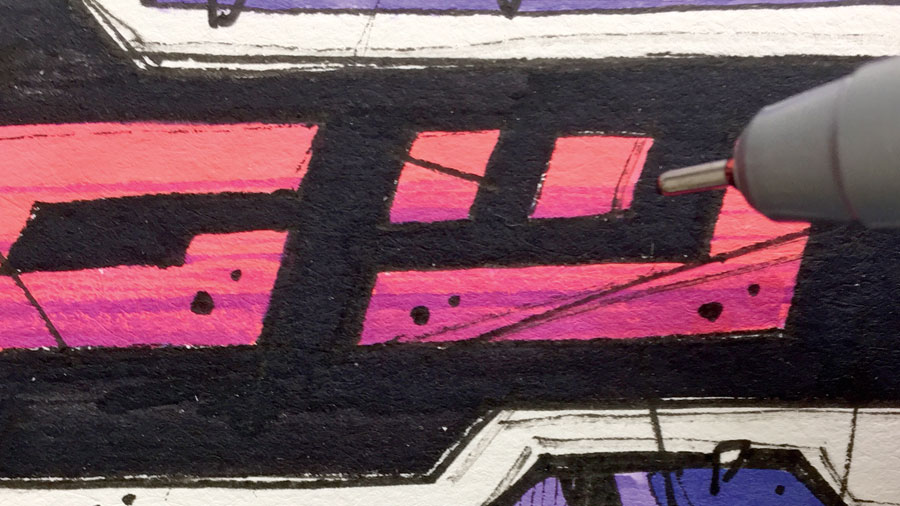
I like to throw some occasional marks into the finished composition to give it a more than natural look. I describe lines and particles with a dry fineliner. In this piece the text doesn't expect sterile anymore and blends well with the rest of the composition.
I reduce the tension between lines by adding dry fineliner strokes hither and in that location. This can be compared to the mixing and mastering procedure in audio production, when y'all equalise instrument frequencies in order to create a well-balanced arrangement.
06. Sign your work, and leave information technology
To finish, I add together a few spots of shadow with a dark grayness brush pen and darken the teeth to push the graphic symbol's fang towards the viewer. My Predator looks uglier and more aggressive – I like information technology a lot now! I sign my artwork, which means I'll never make any changes to it. The analogy is complete.
This article was originally published in effect 177 of ImagineFX , the world'south best-selling mag for digital artists. Buy issue 177 or subscribe to ImagineFX.
Read more:
- All the all-time free Photoshop brushes
- The best Illustrator brushes: premium and free
- 27 superlative complimentary castor fonts

Source: https://www.creativebloq.com/how-to/brush-pen-drawing
Posted by: humphreysedgerhy.blogspot.com
0 Response to "How To Draw With Brush Pens"
Post a Comment